2.5D Shading and the Beauty of Help Forums

More than Troubleshooting
This year at the 2026 Blender Conference, I got the chance to speak about something that is often taken for granted despite being such a meaningful contributor to the process of learning digital creative tools; online help forums. These spaces act as a life raft for anyone trying to wrap their head around a new 3D software like Blender, clearing up common misunderstandings and keeping the spark of learning alive.
But as we progress technically, our attention often shifts toward more artistic communities. I’m here to argue why we should continue participating in these help forums and show how it lead to solving this tricky, useful 2.5D effect. Be sure to read to the end to get your hands on the demo file!
Our Common Roots
Any Blender user will be plenty familiar with these troubleshooting communities. Blender Stack Exchange, the Blender Artists site, the Blender Help subreddit, and countless more pages and Discord servers. There’s plenty to be appreciated about these spaces. They’re an amazing example of an organic apprenticeship ecosystem. Users evolve from asking questions and searching threads for solutions to passing that knowledge onto the next generation of learners.
And all of this happens with no stakes, no expectation of credit, and no qualifications giving one reply any sway over another. They’re also the best kind of internet time machine, transporting us back to a time of pure community with minimal ads and a focus on discussion over products and polished tutorials.

Of course, as with any anonymous internet space, it’s far from perfect. Users complain nebulously about the software with minimal description of the problem or what they’ve tried. Or the reverse; a thoughtful thread about a complex problem with detailed breakdown of they’re process leads to replies with low-effort regurgitations of the most common fixes or vague recommendations.
Feeding the Cycle
But on the whole, these places are still a beautiful hub of open collaboration. And beyond that, they’re one of the easiest and most effective ways to give back to our open community. Most of us don’t have coding skills to meaningfully contribute to development. Or the financial resources to fund the Blender Foundation at a Corporate Patron level like Bolt. Or the time, skills and charisma to make educational content. But many of us do have knowledge to share.
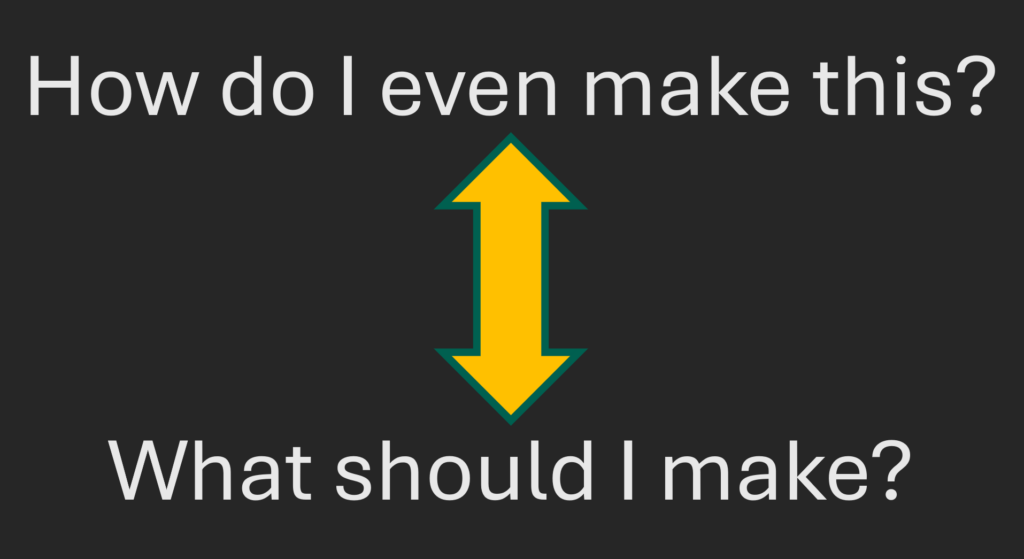
However, there’s a problem. As we improve as artists and outgrow our reliance on help threads, a lot of our communities become centered instead around sharing art, getting inspired, and learning common, popular skills. Most of us slowly transition from a state of technical problem solving to a state of artistic problem solving. From “how do I make something” to “what should I make”?
And this is a mostly a good thing. Being uninhibited by one’s tools, sharing art and getting inspired is important and hugely beneficial. But at the same time, it’s often these inhibitions, these challenges that push us into new creative territory and inspire completely different work. It’s what allows us to keep evolving as artists in a technical realm. So beyond the other obvious things to love about troubleshooting forums, we can use them to reform this cyclic connection between technical and artistic problem solving.
Animation Inspiration
Feeding this cycle is so important for getting outside one’s comfort zone and it’s something I often lean into when getting inspired and picking up new skills. While creating the rig for our big ape creature, Brad, I wanted to implement some sort of automatic movement for his long, dangling ears while still having access to traditional animation controllers. I ended up getting a lot of help on this from folks in the CGDive rigging-focused Discord community and once it was working, the cloth physics solution ultimately gave me the idea for his showcase animation, with the ears swinging and colliding with the body to show their weight.
An Unexpected Challenge
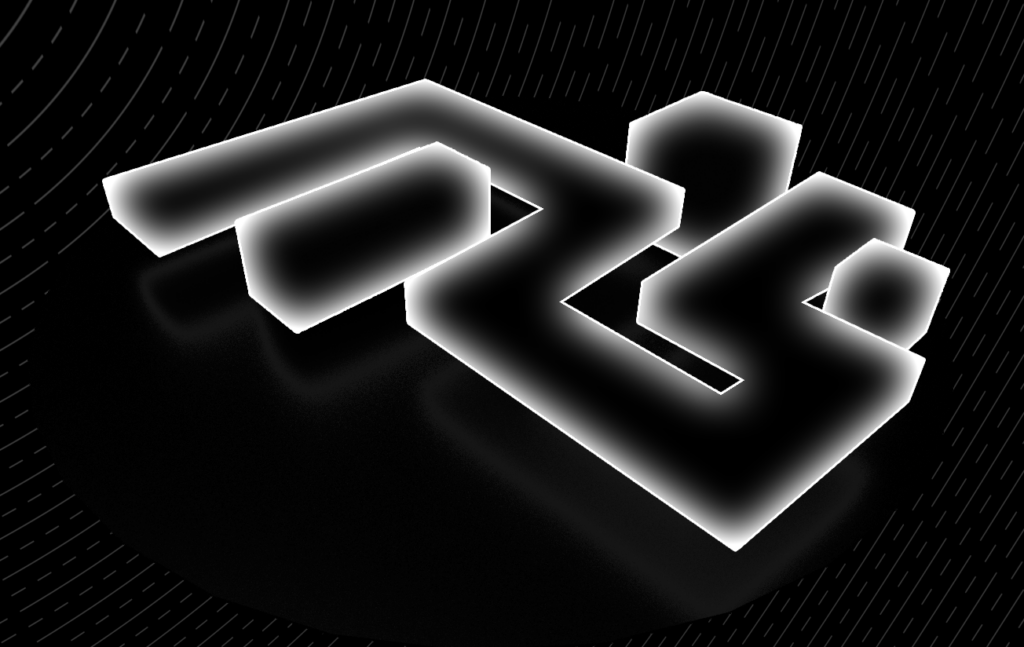
Now let’s take a look at another example of this community problem solving encouraged by help forums. A while back I came across a thread on /r/blenderhelp trying to achieve this effect in Blender.
At first glance it looks quite simple; a blurred outline almost like an ‘inner glow’ filter found in many image editors. And while doing this in any image processor – including Blender’s compositor – is trivial, achieving it in 3D as a shader so that the effect can appear in reflections, cast light on other objects, and remain seamlessly integrated in the scene proves to be a sneaky challenge.
The issue here is that the ‘blurring’ of the outline is happening in screen space. It’s essentially a measure of the distance from each point or pixel to the silhouette across the view plane, not through 3D space or across the mesh topology.
Along the journey of trying to solve this effect, I picked up tons of useful tricks from other users in the thread and from completely different threads. I learned how handy it is to manipulate ray directions when using geometry or shader Raycast nodes. I found a handy technique for remapping Window coordinates based on aspect ratio for creating nice 2D effects like screen-space stipling. In the end, working through this problem with other users brought me to a really interesting solution.
Squashing the Issue
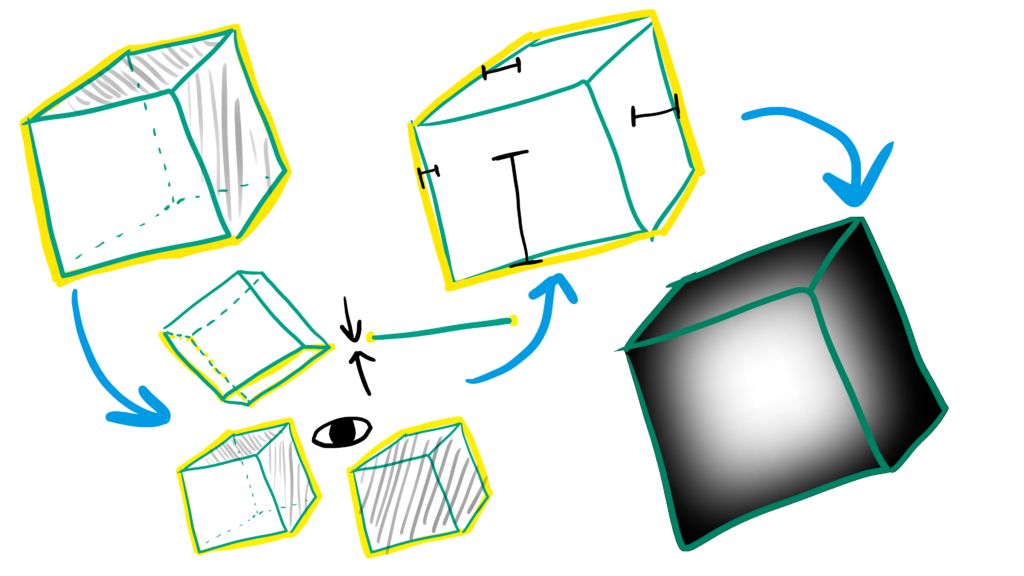
The crux of the problem is that all the geometry and shader nodes we have in Blender for measuring the closest distance between two elements work in 3D. They measure distances across world space or topology, and between surfaces rather than 2D elements.
The solution is to create a silhouette curve using Grease Pencil, then flatten both the curve and the geometry toward the camera so that any measurements we do are essentially happening in screen space. We finally transfer this attribute back to our original geometry to make sure it’s appearing in the right place when rendering, and use the attribute in our shader.
This method requires remeshing to create a dense, even geometry to hold an attribute with sufficient resolution. It also relies on some blurring that needs to be cleaned up since the flattened mesh is messy to work with. But the end result is exactly what we’re looking for and really fun to play with.
2.5D Walkthrough
Here’s a short breakdown of how the scene and effect are built, and the fun possibilities that the Grease Pencil LineArt options provide. Seeing the effect reflected in the ground plane really anchors it to the 3D scene while still retaining the stylish 2D look.
To get the full breakdown of how it works and the other attempts that inspired my solution, you can watch the demo portion of my talk from Blender Conference 2026 below. Don’t forget to download the demo file at the bottom of the page and if this has you feeling inspired, go participate in your favorite troubleshooting forum. You never know how much you’ll help someone with their project and what kinds of new techniques you’ll learn!